When you buy products via links on our website, we might receive an affiliate commission. Learn more
12 Essential Tips for a Successful DIY Landscape Lighting Project

Whether you are looking to enhance the beauty of your backyard or boost the visibility of your garden’s pathways, with the right approach, DIY landscape lighting can be a rewarding experience.
Our detailed guide provides insights and tips for hassle-free DIY landscape lighting. Here, we deep dive into the nitty-gritty of planning your landscape lighting layout, choosing between solar and plug-in lighting fixtures, selecting the right fixtures and bulbs, ensuring safety when designing and installing landscape lights, and more. We will also provide practical advice on using the right installation technique and maximizing both budget and energy efficiency.
Make the most of these 12 tips to get success with your DIY landscape lighting project.
Identify Areas in Your Yard to Illuminate

The first step in planning your landscape lighting is deciding which areas of your yard to want to highlight. Also determine the purpose for illuminating the chosen areas.
Are you looking to boost the safety and security of your yard? Do you want to create a cozy and warm ambience for a romantic evening? Or, do you want to accentuate the beauty of your garden elements, such as sculptures, fountains, etc.?
Plan Out Your Light Layout
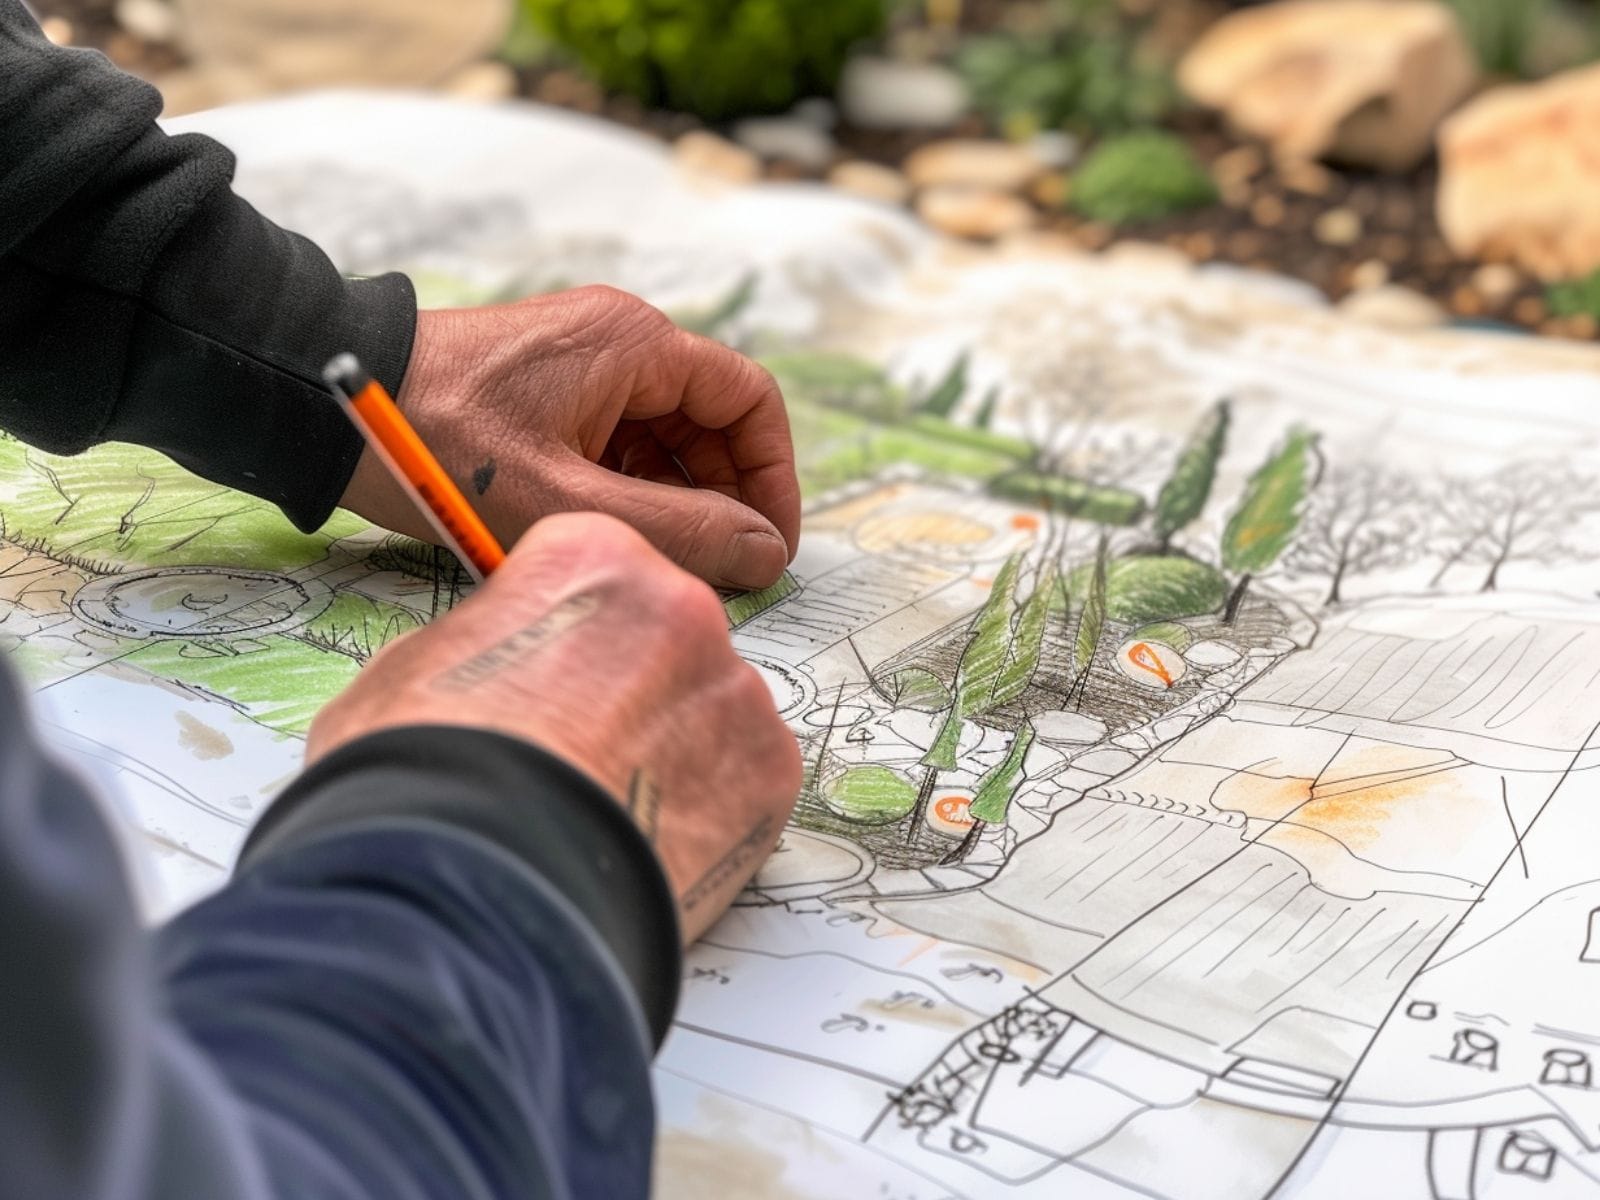
Once you have identified the areas you want to illuminate, create a rough sketch of your yard clearly marking locations where you want to install the landscape lights. This step is vital for visualizing the overall impact of the lighting and ensuring a balanced distribution of lights throughout the yard.
You can also use the layout to determine the type of fixtures, type of bulbs, amount of wiring and size of transformer required.
For example, in the layout, consider detailing the path of electrical cables from the power source to each lighting fixture. This can also help you calculate the total length of wiring required for all your lighting fixtures.
Landscape lighting fixtures also require a transformer to convert the 120 V line voltage to a lower voltage (12 V), which is safer for outdoor use. You can use your light layout to determine size and placement of the transformer.
Ensure Adequate Spacing Between the Lights
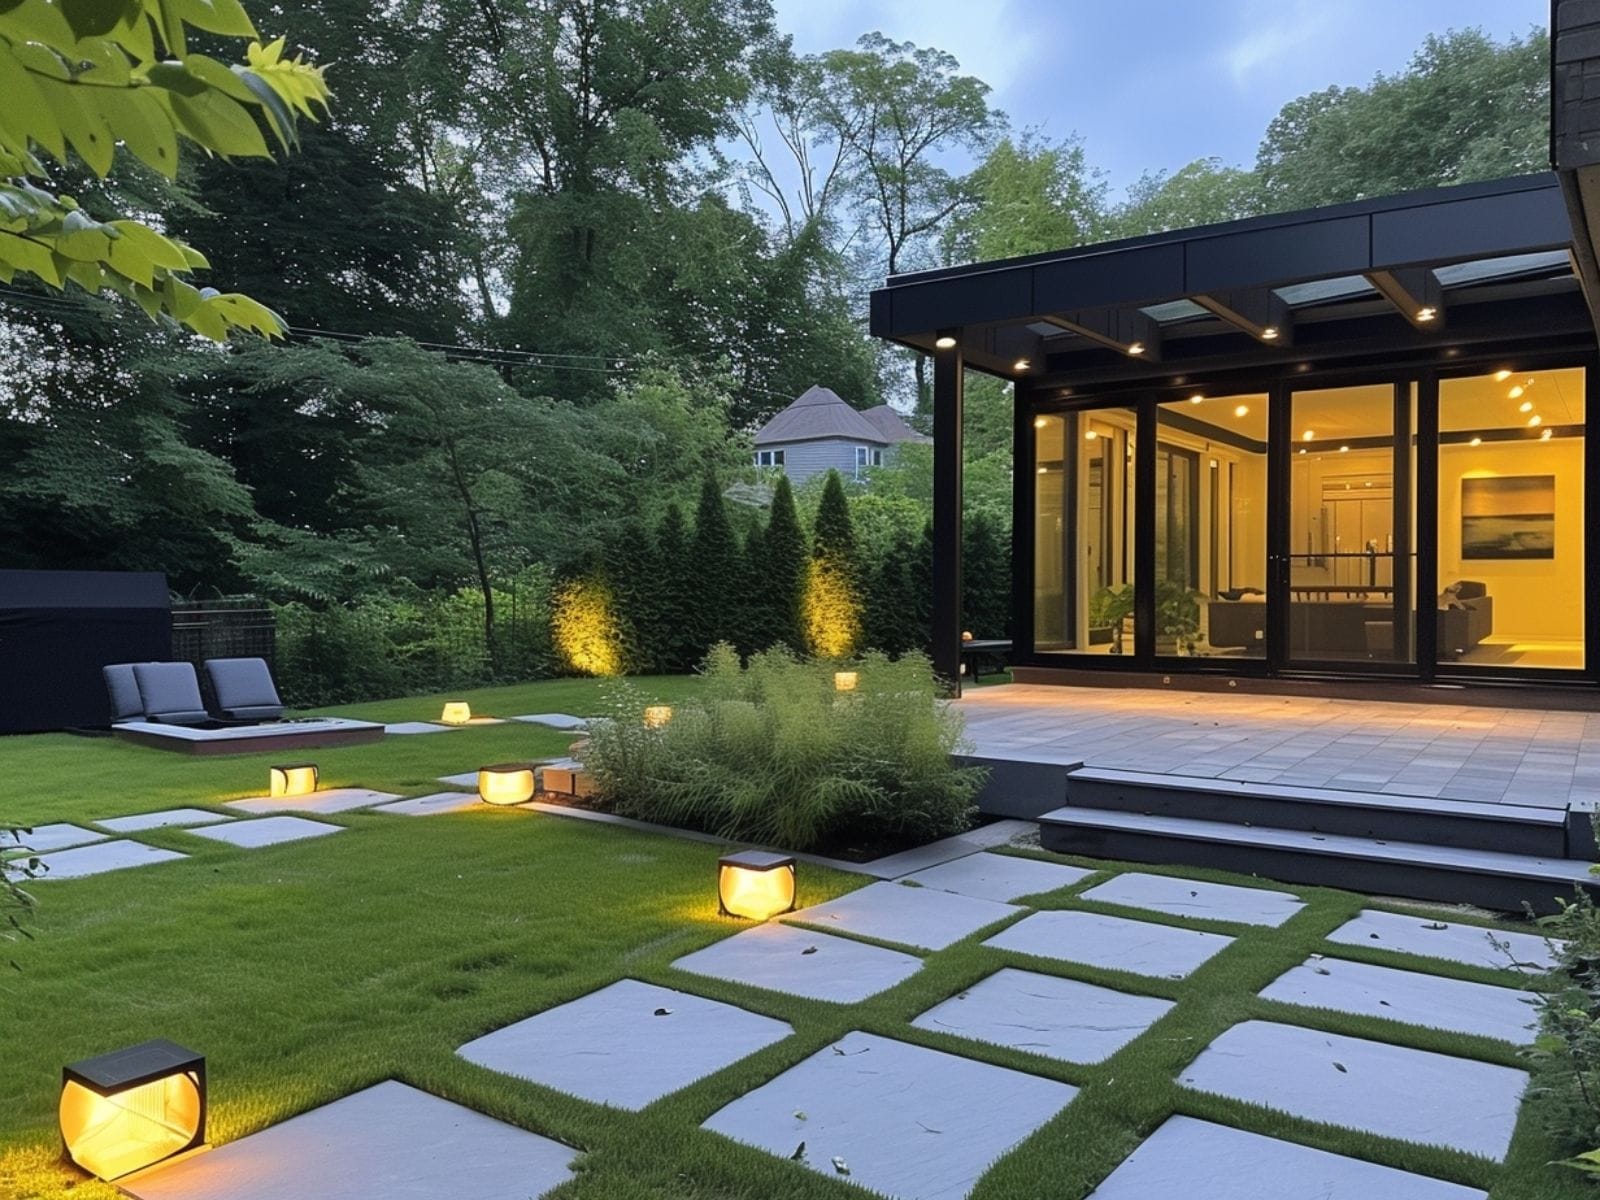
The spacing between lights in your layout is also crucial for achieving balanced lighting. Proper spacing between the lights is essential to ensure the illuminated is consistent throughout the yard, without any dark shadows or overly bright spots.
Bullet lights, pool of lights, and wash lights serve unique functions in landscape lighting. Their strategic placement can transform your yard into an eye-catching space.
A pool of lights can be useful in creating a gentle glow in your yard. This landscape lighting technique involves placing lights in such a way that their illumination overlaps softly, creating a gentle and warm across any area. This technique mimics the natural moon light filtering through trees.
You can use wash lights to create a soft and diffused glow over large and flat surfaces, such as fences, hedges, and walls. These lights help in accentuating colors and textures, contributing to the richness of the landscape.
Lastly, you can use bullet lights (also known as spotlights) to provide focused illumination on specific landscape elements, such as plants, sculptures, etc.
Thoughtfully space these lighting techniques create beautiful landscape lighting effects in your yard. You can use the layered lighting technique to combine these lights for a multidimensional effect.
Bury Wiring Deep Enough to Prevent Damage and Potential Risk of Electric Shock
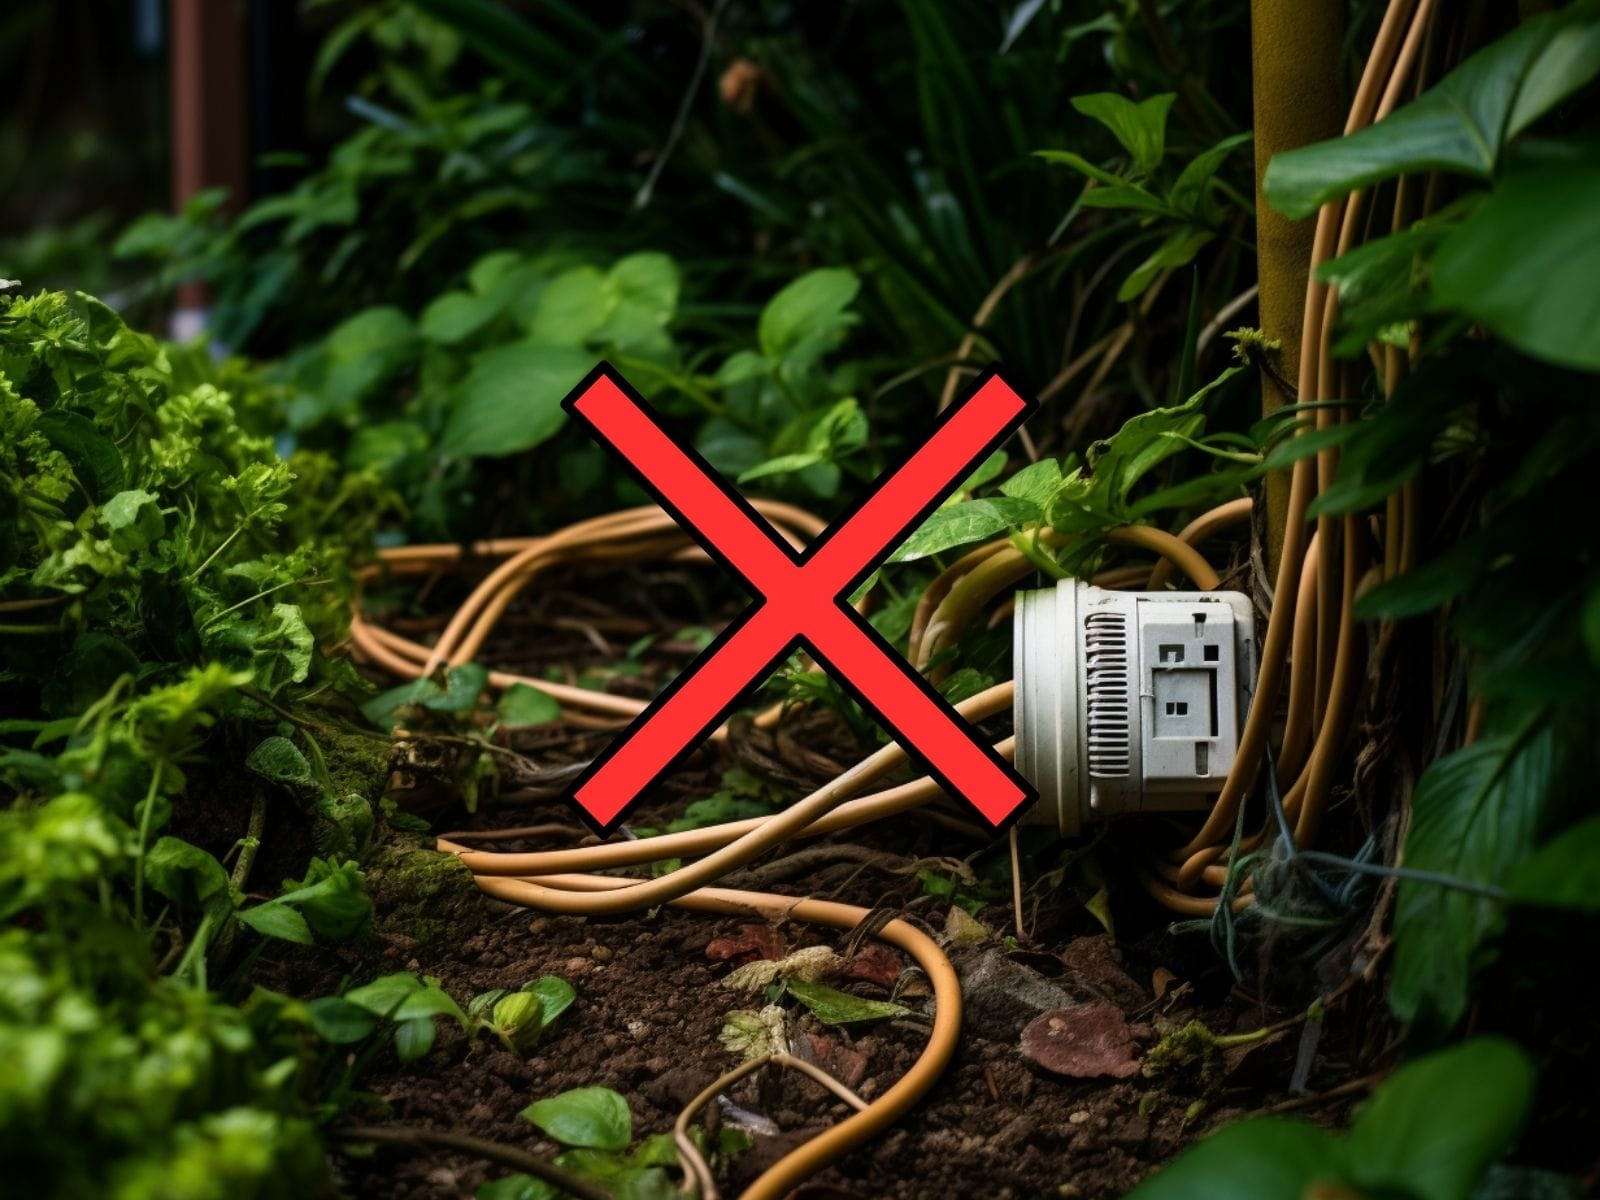
Burying wiring at the correct depth is essential to prevent accidental damage from foot traffic or yard activities. Wiring that is too close to the surface can easily get damaged by digging activities, lawn mowers, etc.
Exposed wires also pose safety risks, such as electric shocks and tripping hazards. Lastly, properly buried wires help in maintaining the beauty of your yard as there’s no wiring-related clutter visible outside.
Please note that the recommended depth for burying landscape lighting will depend on the cable type and its application.
For most residential landscape lighting setups with low voltage, the recommended burial depth is about 15 cm or 6 inches. On the other hand, for landscape lighting using line voltage, a deeper burial of about 40 cm or 18 inches is required.
Follow these steps to properly bury the wiring of your landscape lighting fixtures:
- Consult with your local utility companies to mark any existing underground wires before you start digging.
- Use the right tools for digging. For shallow trenches, use a garden space. For deeper trenches, we recommend renting a trencher from a hardware professional.
- Consider covering the wires with an additional layer of conduit for enhanced protection.
Choose a Suitable Power Source Between Plug-In and Solar Lighting
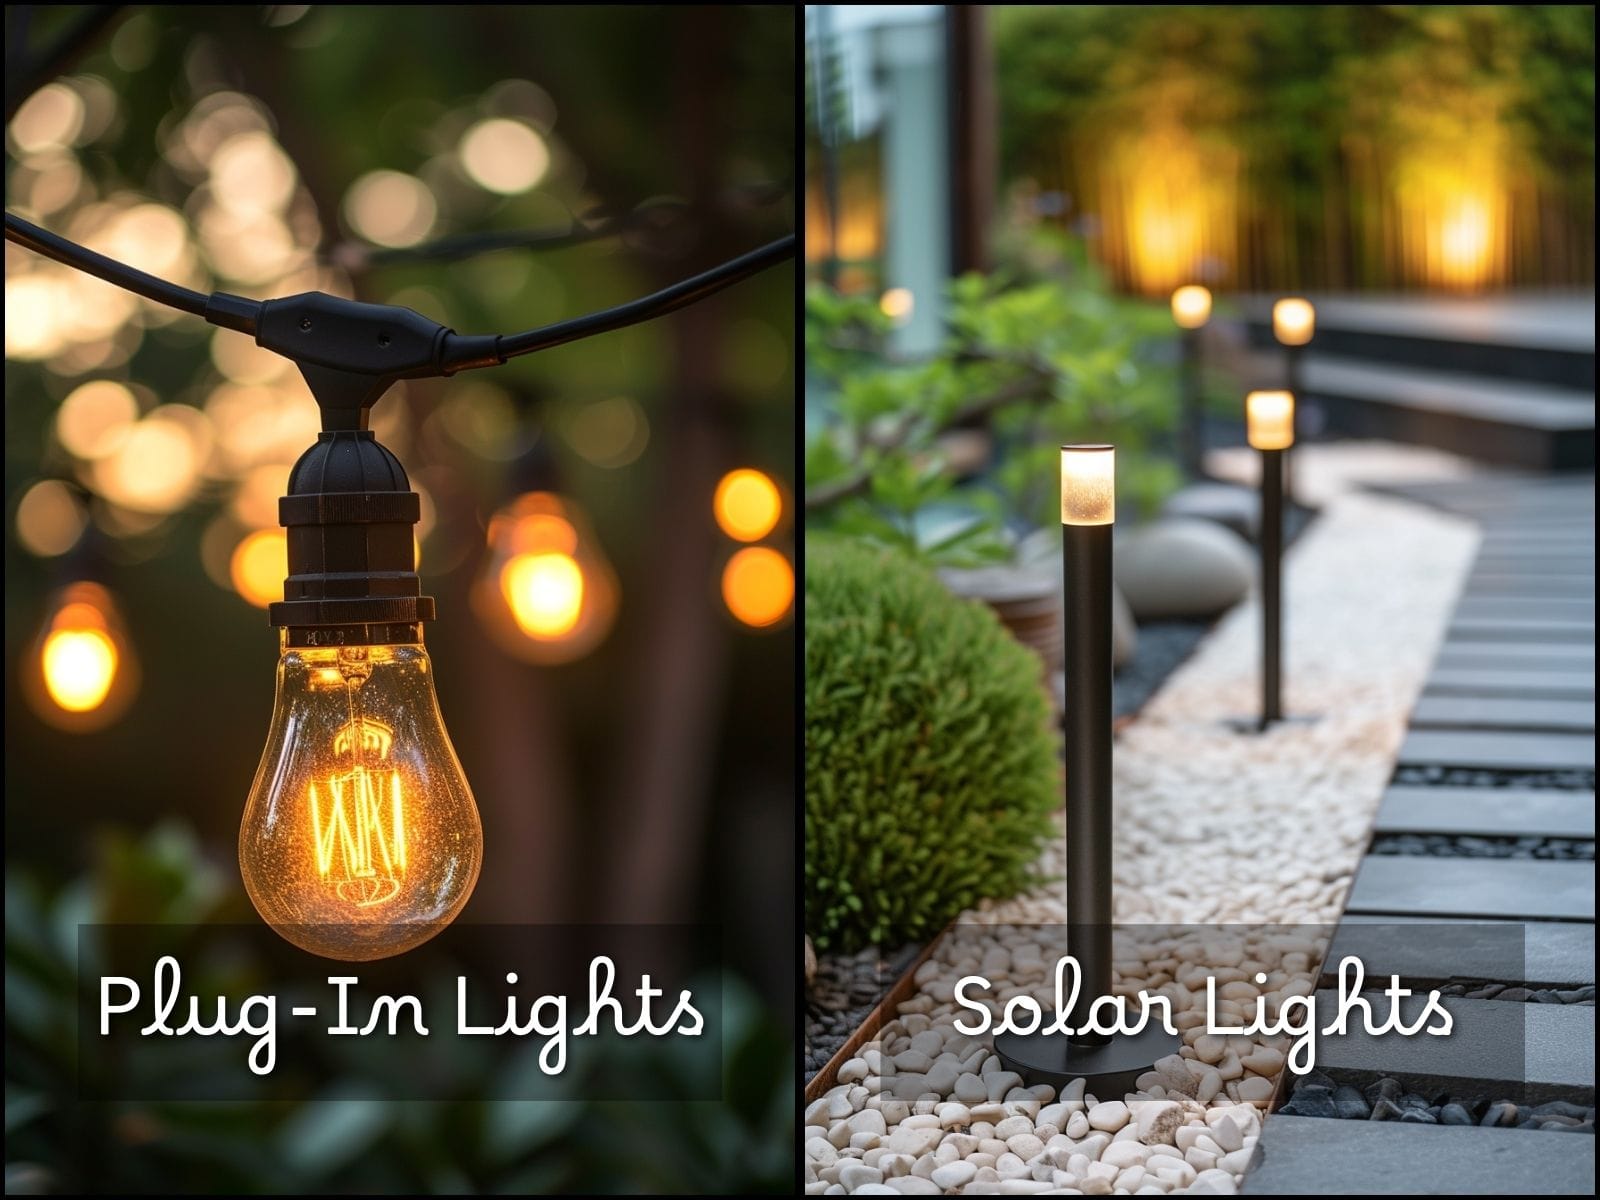
Another important aspect of landscape lighting is choosing a suitable power source between plug-in and solar lighting. Please note that your power source choice will also impact your installation technique. It can also impact the flexibility, maintenance, and operation of your lighting setup.
Solar lights are energy efficient and easy to install. You can easily reposition these lights or move them around as they do not involve wiring. Lastly, these lights are easy to maintain as they automatically turn on after sunset and off after sunrise because of the integrated lighting sensors.
However, the performance of solar lights depends on the amount of sunlight they receive during daytime. Also, their light intensity is somewhat lower than lights dependent on electric power for illumination.
On the other hand, you need to connect plug-in landscape lights to your home’s electrical system. These lights provide consistent illumination and can operate for extended periods without being affected by weather conditions. Also, they are customizable and scalable for larger lighting requirements.
The decision between solar and plug-in lights should be based on your needs. However, we recommend solar lights for their simplicity, ease of use, and ease of installation.
Select the Right Type of Bulb for Ambience, Efficiency, and Effectiveness
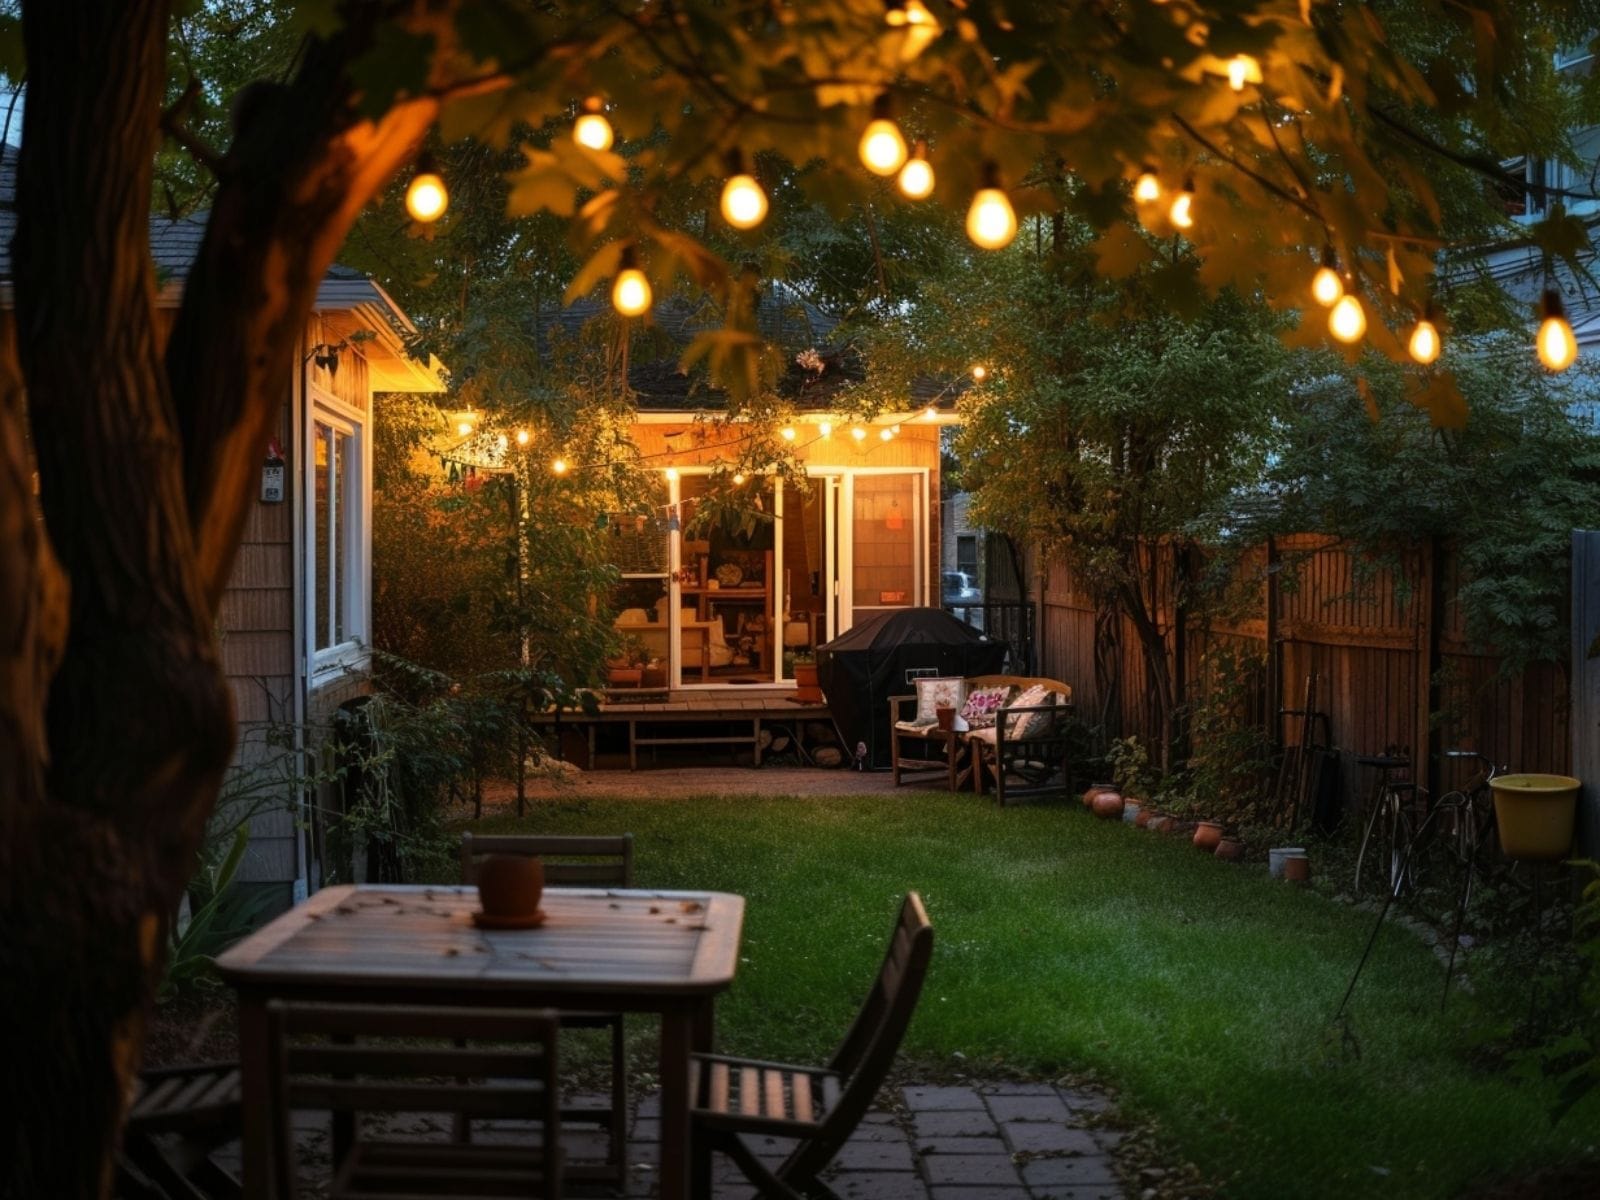
Landscape lighting fixtures typically comprise halogen or LED bulbs.
Halogen lights deliver bright and warm light. They also accentuate the true colors of your landscape after sunset. Moreover, they are typically less expensive when compared to LED bulbs. However, they consume more electricity than LEDs, making them less energy-efficient. They also produce more heat and can be a hazard if the bulb is in direct contact with plants.
LED bulbs are energy efficient, have a longer lifespan, do not require frequent replacements, produce less heat as compared to halogen bulbs, and are typically more versatile.
The only issue is their initial cost, which is typically higher than that of halogen bulbs.
When choosing between halogen and LED bulbs, consider factors such as your ambience needs, budget, and energy efficiency requirements to make an informed decision.
Choose the Right Lighting Fixtures for Your Landscaping Needs
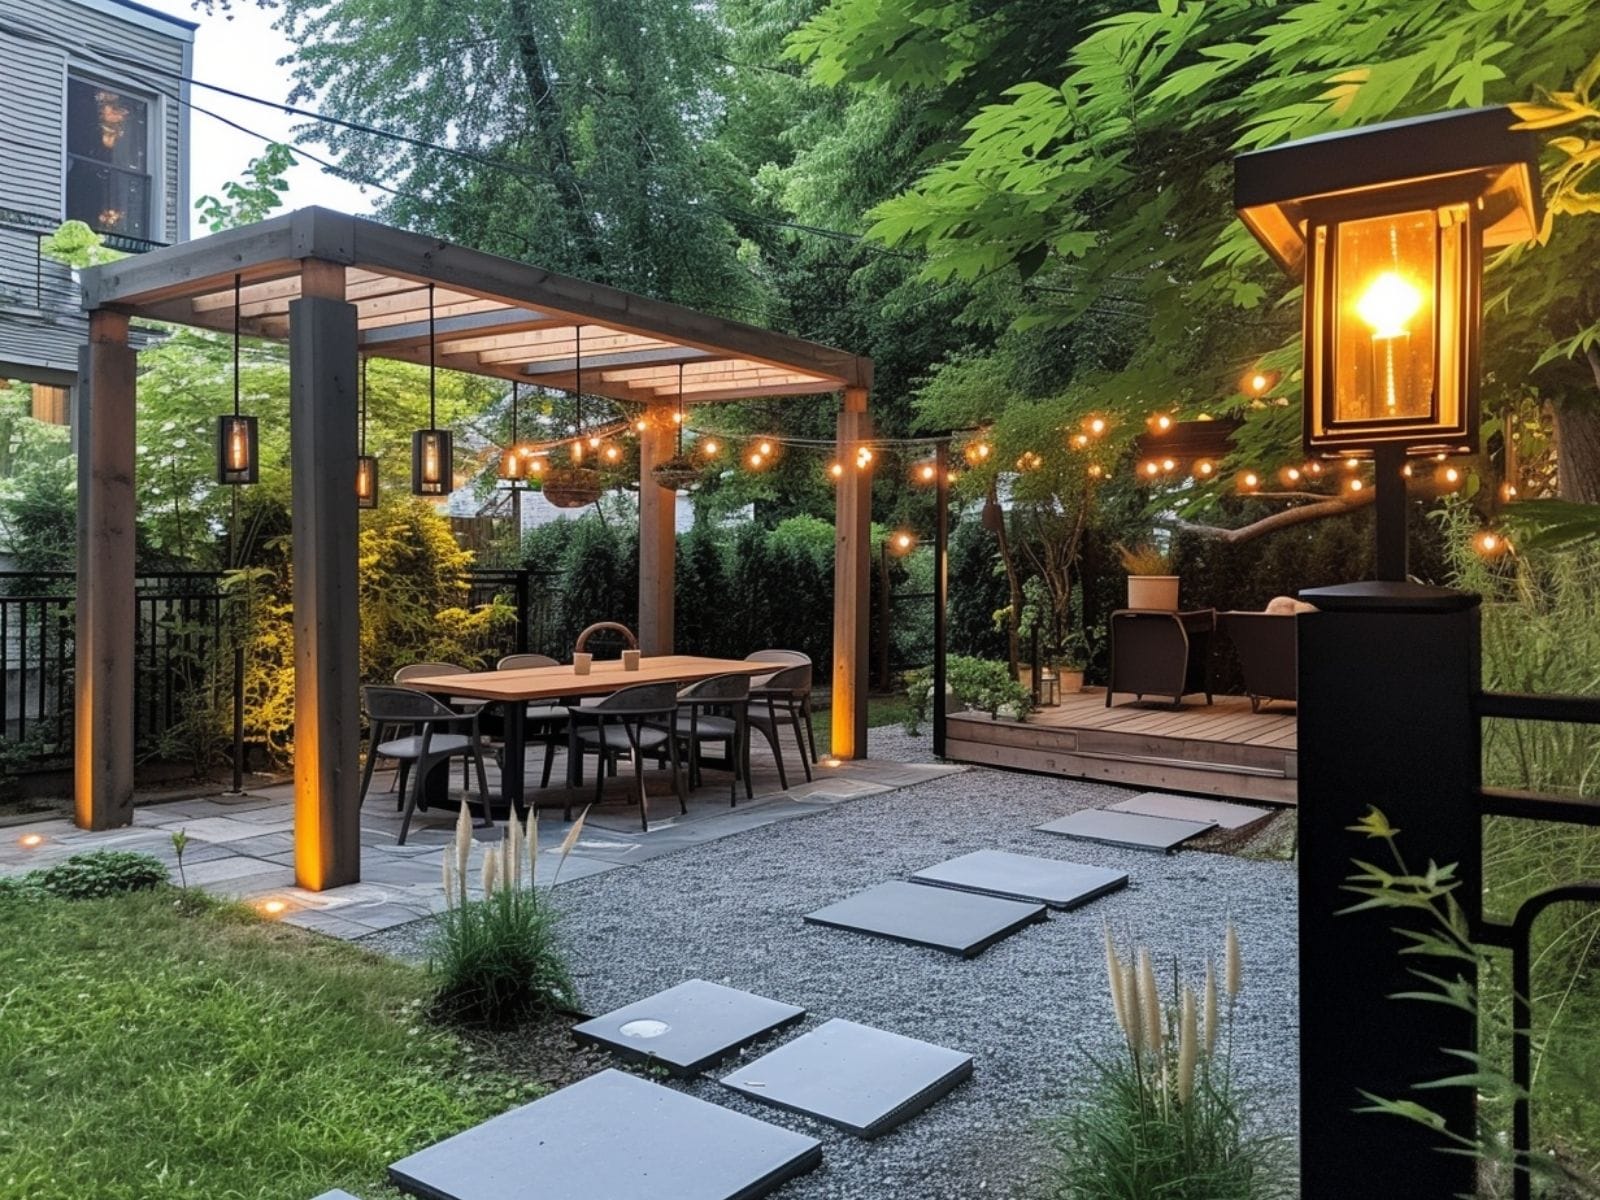
Building a solid landscape lighting strategy boils down to choosing the right lighting fixtures.
We recommend adopting a layered lighting approach that incorporates accent, ambient, and task lighting for an attractive lighting effect.
You can use accent lighting for highlighting architectural and landscape features for depth and dimension. For example, you can use solar spotlights and in-ground lights to draw attention to specific elements, such as plants, garden statues, and so on.
Ambient lighting provides illumination for the yard after sunset. It’s the foundational layer that ensures safety and navigability. Based on your budget and lighting needs, you can select a suitable landscape lighting fixture for ambient lighting.
For example, if you are on a shoestring budget, you can use string lights for patio lighting. Pendant lights and hanging lanterns can be a suitable choice for creating a rustic ambience in your patio’s dining area.
Task lighting focuses on specific areas that require more lighting for enhanced visibility, such as cooking, dining, or reading.
Deck lights and table lanterns can be suitable patio landscaping fixtures for task lighting.
Learn more about types of outdoor lighting fixtures for landscaping.
Pick the Right Transformer
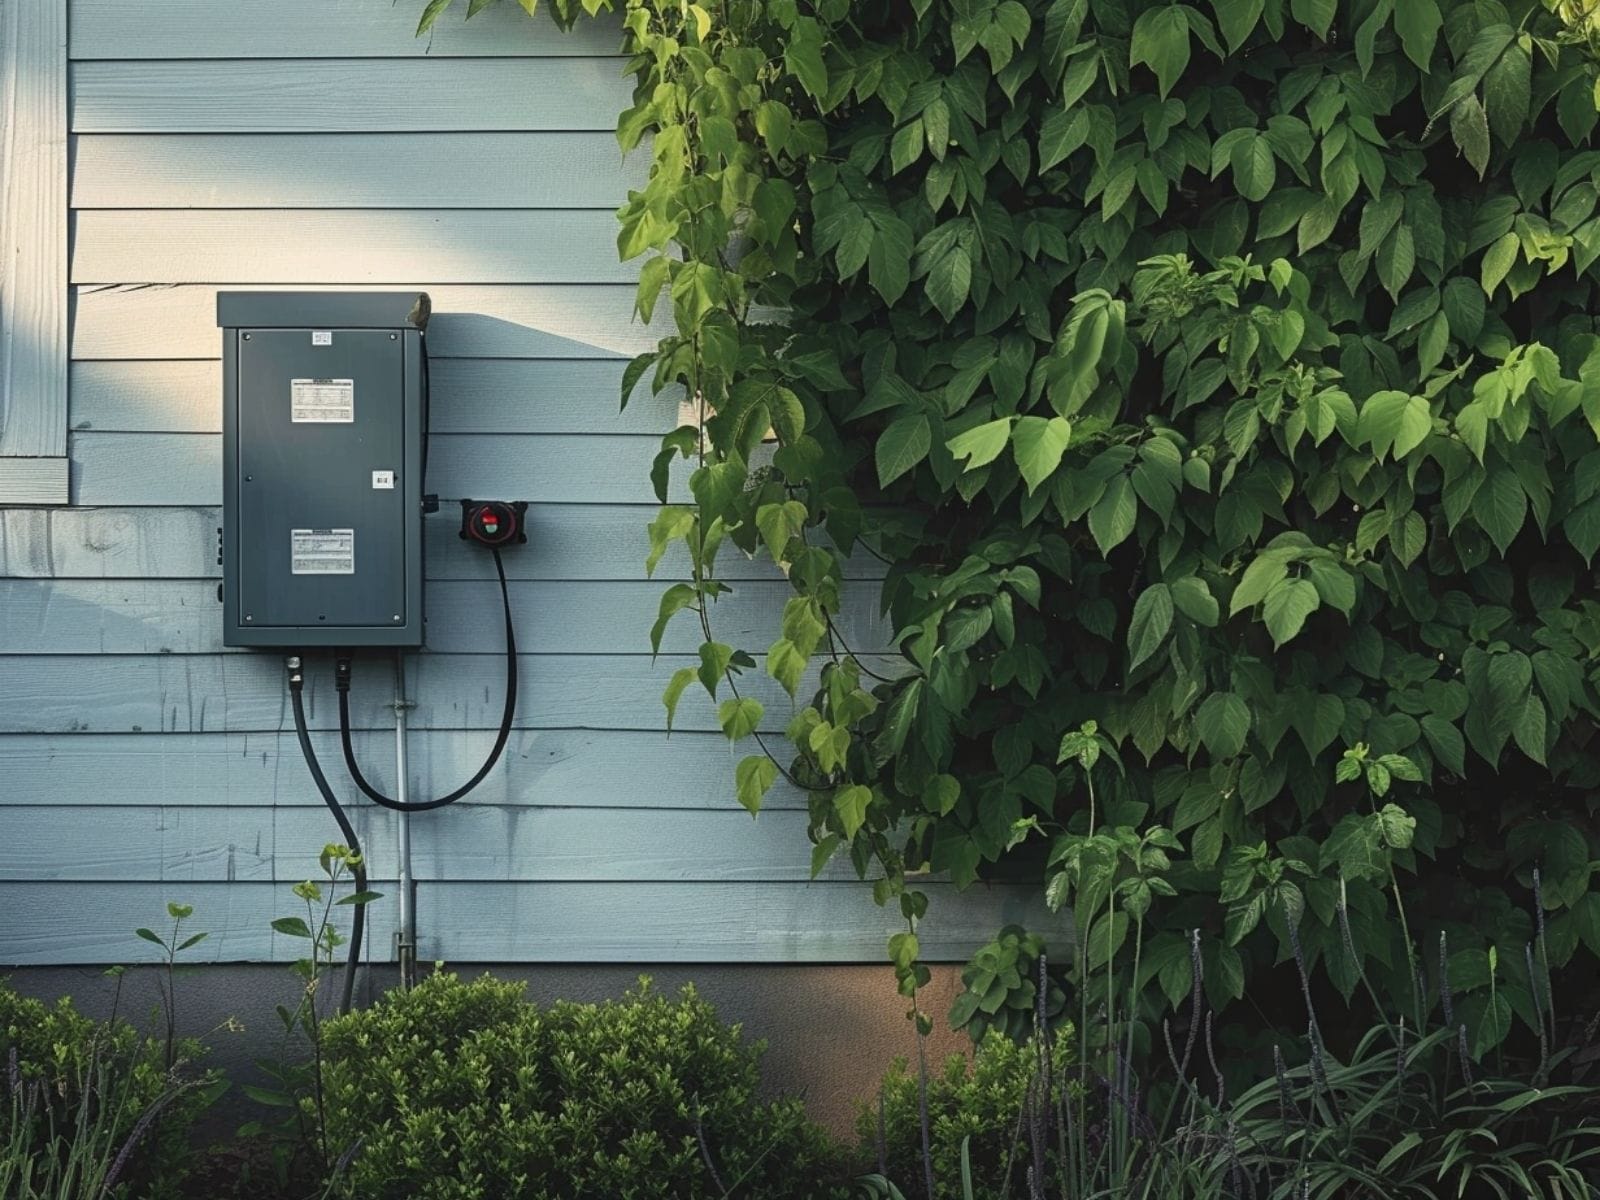
Selecting the right transformer is a critical step in setting up an efficient landscape lighting system. After all, a transformer converts your home’s line voltage (120 V) to lower voltage (12 V) for outdoor lighting. Follow these steps to choose the right transformer:
- Add the wattages of all the lighting fixtures you plan to connect to the transformer.
- Add a buffer of about 10% to 20% to the total wattage you calculated. This ensures the transformer is not operating at its maximum capacity.
- Choose a suitable transform size accordingly.
Sample calculation
Assume that you are planning to install 20 LED landscape lights, each with a wattage of 9 watts.
- Calculate total wattage of fixtures
- Number of lights: 20
- Wattage per light: 9 watts
- Total wattage: Number of lights x Wattage per light = 20 x 9 watts = 180 watts
- Add a buffer for safety
- Use a 20% buffer = 20% of 180 watts = 36 watts
- Total wattage with buffer = 180 + 36 watts = 216 watts
- Choose a transform that can handle at least 216 watts. Transformers are typically available in standard sizes, such as 45 W, 75 W, 100 W, 200 W, 300 W, etc.). For this example, a 300 W transformer would be a good option.
Understand and Choose the Right Brightness and Color Temperature
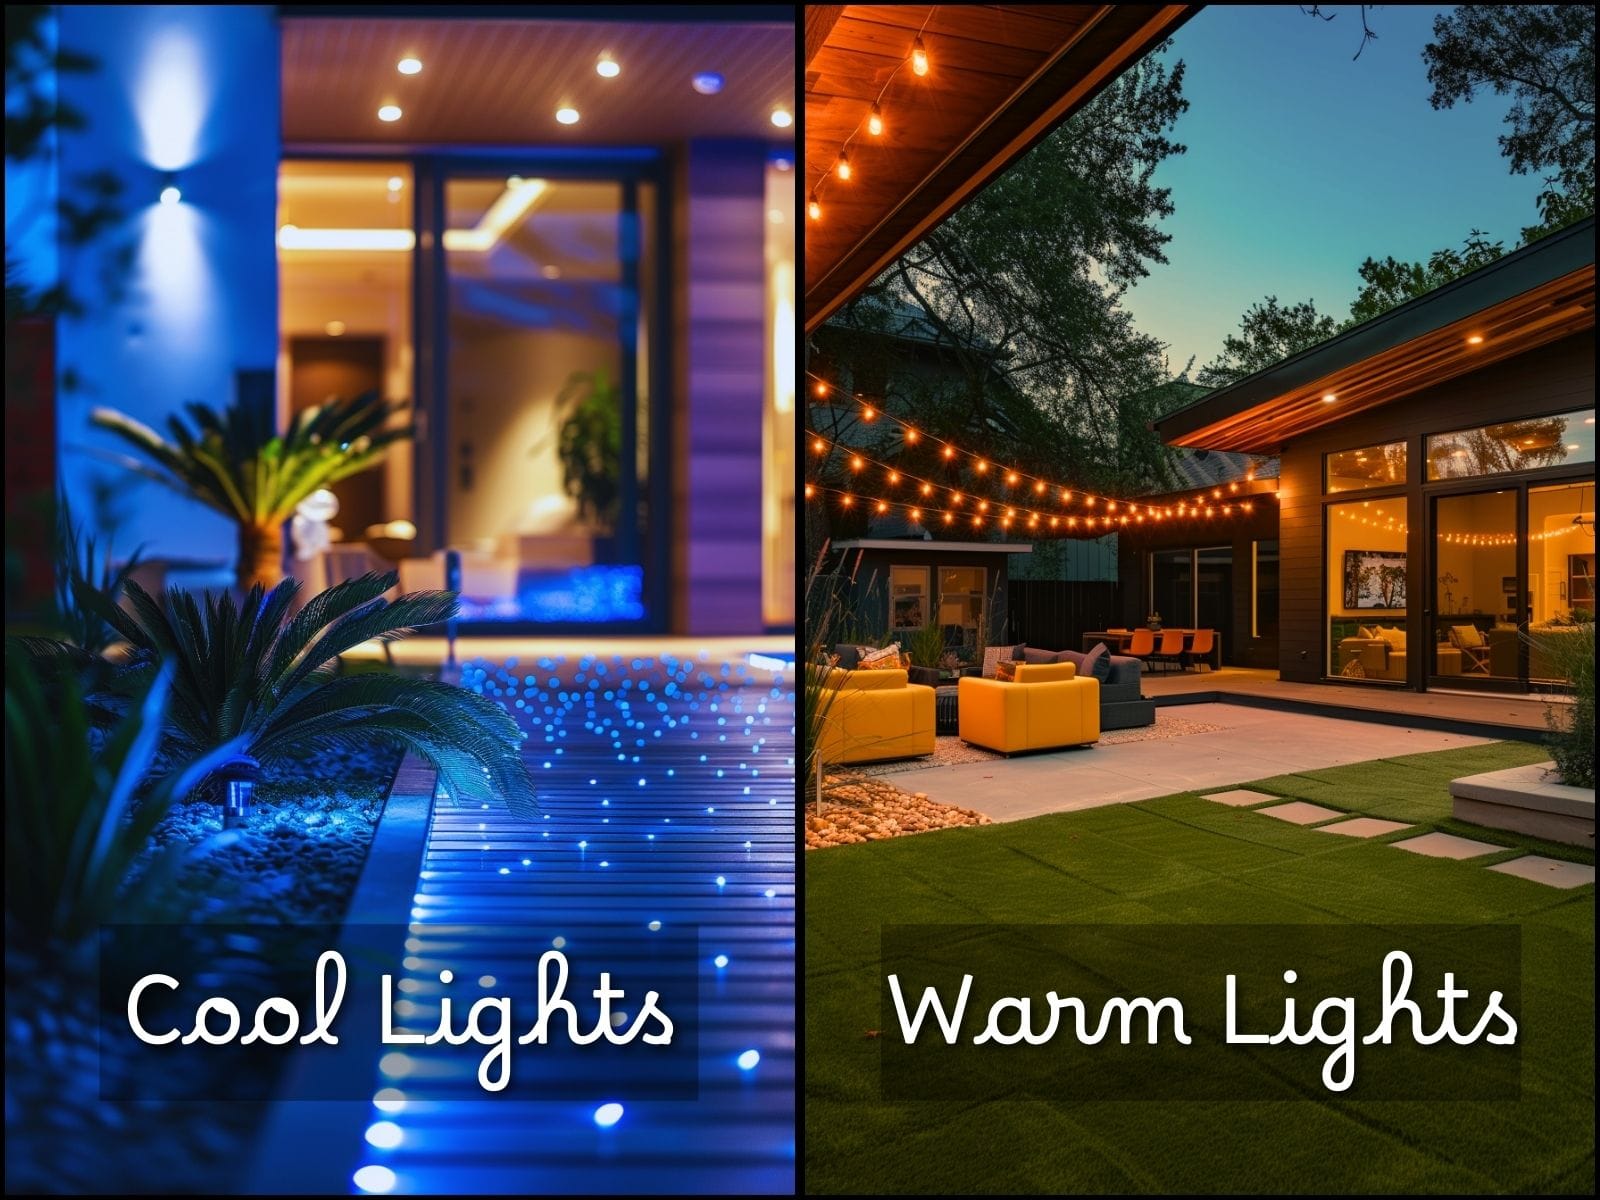
The brightness and color temperature of the landscaping lighting fixtures significantly impact their aesthetic appeal, ambience, and functionality.
Brightness of light is measured in lumens. The required brightness of your outdoor lighting will depend on the intended use of the space. For example, pathways require more lighting for safety and navigation purposes. On the other hand, accent lighting used for highlighting architectural features can be softer, utilizing fixtures with lower lumens.
Light’s color temperature is measured in Kelvin (K). It refers to the color quality of the light, ranging from cool to warm.
Cool light (4600 K to 5600 K) is bluish-white light. It mimics daylight and is often used for security lighting (e.g., floodlights). It is less preferred for residential landscapes.
Warm light (2000 K to 3000 K) emits a cozy and warm glow. It is similar to candlelight. Since it is ideal for creating inviting and relaxed settings, it is preferred for illuminating yard areas, such as backyards, gardens, patios, etc.
Ensure Safety When Designing and Installing Landscape Lighting

Safety should always be a top priority when planning and installing landscape lighting fixtures. Adequate safety measures protect your family and guests from potential hazards and safeguard your property from damage.
Here are some quick tips to enhance the safety of your yard while installing landscape lights:
- Use low voltage setups (12 V or 24 V) for residential properties. Lower voltage reduces the risk of electric shocks in case of naked or broken wires.
- Ensure all landscape lighting fixtures are rated for outdoor use and weatherproof.
- Do not leave wires exposed. Bury wires at the appropriate depth to avoid tripping hazards and prevent wire damage.
- Ensure driveways, pathways, and walkways are well lit for proper navigation and safety.
- Use shields to minimize glare and prevent light pollution.
- Check your lighting system periodically for burnt-out bulbs, damaged lighting fixtures, and exposed wires.
- Book professional inspection for complex landscape lighting systems, especially those involving line voltage.
Explore 11 comprehensive tips for safe outdoor lighting.
Use Landscape Lighting Kits for Hassle-Free Installation
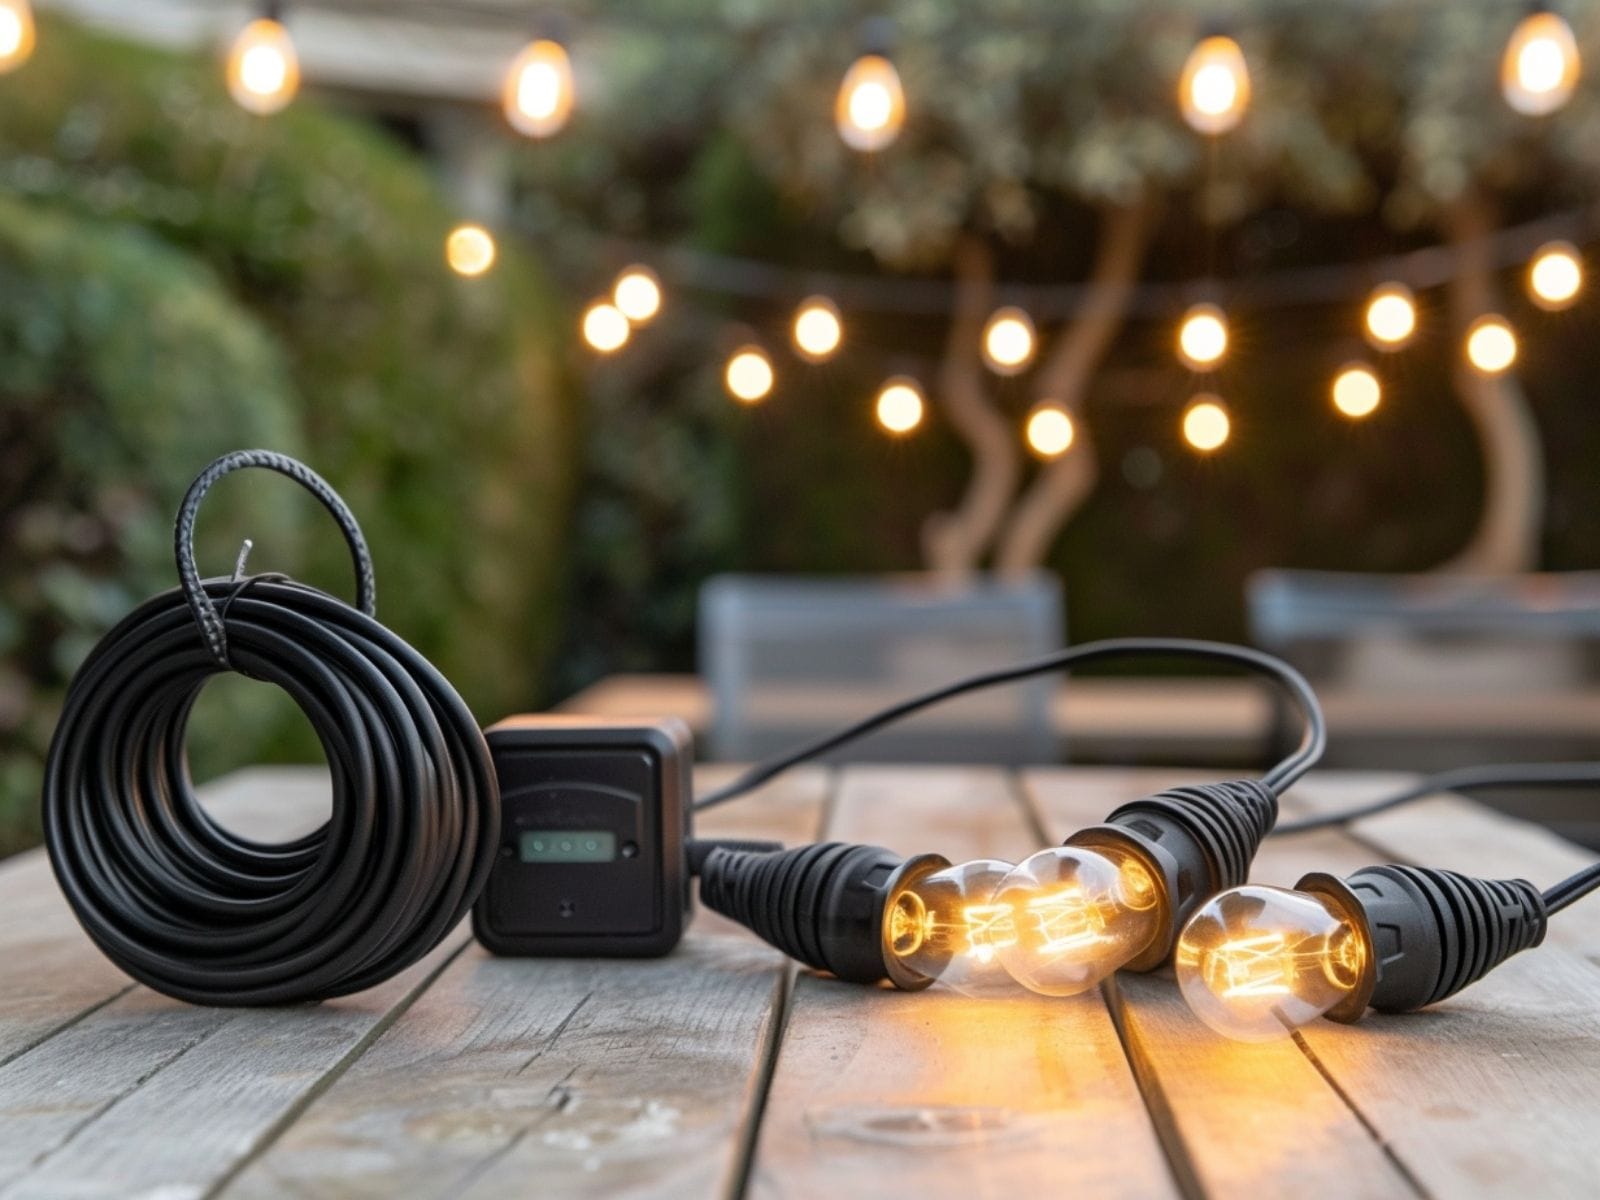
Landscape lighting kits comprise everything you need for DIY installation of your landscape lighting fixtures. These kits come with cables, lighting fixtures, a transformer, connectors, ground stakes, mounting hardware, additional accessories (e.g., photocells and timers) and an instruction manual.
One of the key benefits of using a kit is that it contains all essential components in a single pack. This is particularly used for DIY enthusiasts, especially beginners, who are not well versed with landscape lighting design or electrical systems.
Moreover, purchasing a kit can be more cost-friendly than purchasing the components separately.
Assess your requirements thoroughly before purchasing a kit. Ensure you have clearly identified the areas of your yard you wish to illuminate and ensure the kit comprises enough lights and fixtures for your landscape lighting project.
Balance Budget and Energy Efficiency for Cost Effective Landscape Lighting

When planning a landscape lighting project, budget and energy efficiency are two critical factors to consider. Balancing both is the key to cost-effective landscape lighting.
Budget Considerations
When assessing the budget, consider both initial costs and long-term savings. The initial cost of landscape lighting can vary based on the types of lighting fixtures, type of technology you are using (halogen vs. LED bulbs), no. of lighting fixtures, etc.
While LED lighting fixtures may come with a high initial cost, they are excellent for long-term savings on energy bills and replacement costs.
DIY vs. Professional Installation
Your installation method can also impact your overall budget. DIY installation is typically more cost-effective as it does not involve any labor costs. Therefore, it can be a good choice for those on a shoestring budget.
However, for electrical work beyond your skills or complex lighting setups, you may need professional installation, which can help you save money on potential corrections and repairs down the line.
Energy Efficiency
As already discussed above, LED lights are more energy efficient than traditional halogen bulbs. Research suggests that they consume up to 75% less energy and last 25 times longer. Therefore, we recommend using LED lights to reduce energy consumption as well as the need for bulb replacements. We also suggest using solar lights to eliminate the need for wires and reduce energy costs.
Some additional tips for energy efficiency include incorporating light controls such as motion sensors, photocells, and timers, to use the lights only when required, and thoughtful planning to reduce the number of lights required to achieve your landscape lighting goals.
